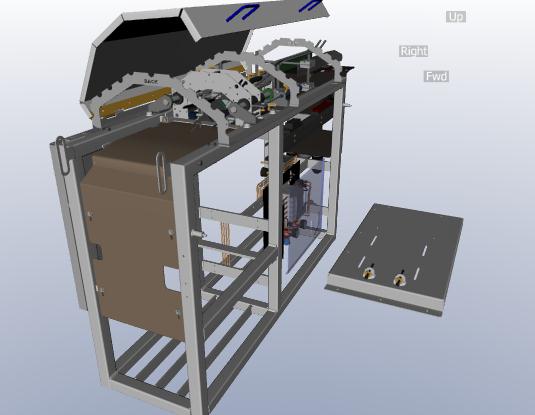
Industrial Machine DITA Demo - Motor Assembly Installation 3D

(1) 3D Install Motor Mounting Plate.
WARNING
Ensure that power is disconnected before proceeding.

1. 3D Install Bolts and Washers on Motor Mounting Plate.
2. 3D Attach Motor Mounting Plate on Workbench.
(2) 3D Install Power Cord
1. 3D Install Power Cord and Cable Clamps on Motor Mounting Plate.
2. 3D Secure with Sheetmetal Screws.
(3) 3D Install Clutch Drive Assy and Bolts. [Figure]
(4) 3D Install Main Drive Motor.
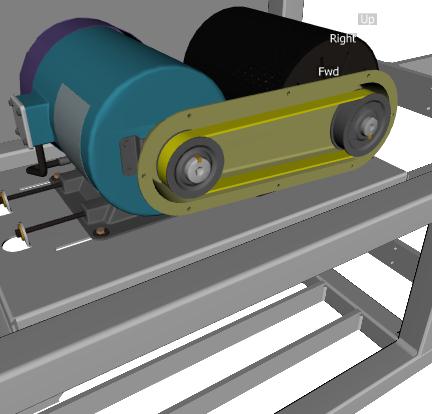
 [Figure]
1. 3D Attach Main Drive Motor.
2. 3D Install Bolts, Washers and Nuts.
3. 3D Tighten the bolts, using a Wrench to secure the Nuts.
4. 3D Tighten the Bolts to prevent movement during operation.
5. 3D Connect Power Cord to Main Drive Motor.
(5) 3D Install Drive Pulley.
1. 3D Install Guard Bracket and Sheetmetal Screws.
2. 3D Install Pully Cover.
3. 3D Install Key and Drive Pulley on Drive Motor Shaft.
4. 3D Install Key and Slave Pulley on Clutch Shaft.
5. 3D Install Belt on Pulleys.
(6) 3D Install Left Guard.
1. 3D Attach Left Guard.
2. 3D Install Bolts.
(7) 3D Test Operation
NOTE
Ensure that power is connected before proceeding.

1. 3D Turn on Workbench using the Control Panel.
2. 3D Ensure that movement is smooth in all both directions.
3. 3D Turn off Workbench using the Control Panel.